Booking a Visit in the iLobby Workforce
There are two ways to book a visit:
1 Using the iLobby companion app
2 Using the Workforce portal
Booking a visit in the iLobby Companion App

Assumptions:
- You have an Employee Pass issued to you by the administrator in the iLobby Address Book
- The iLobby Companion app is installed on your smartphone. It is available on the Apple App Store and Google Play for free.
To book your visit, follow the instructions below:
1. Open the iLobby Companion app on your mobile phone.
2. Login with the appropriate credentials.
3. Once logged in, tap on  .
.
4. This will open the Employee Pass QR code with a blue Sign in
button and the gray Pre-register
button below it. To book a visit time at your facility, tap on
Pre-register. After that, you will see the following page:
5. Select a space in case your environment has multiple sites,
the date of your visit, and choose the visit time among available time slots.
6. In cases when there are desks added to spaces, you will be prompted to select a desk to book. You can either tap on the
Desk field or select one of the available desks from the drop-down menu.
7. If the map of desks was added to the space, you can tap on
Pick on map and select the desk there. The map helps to visualize which desks are occupied, booked, or available on the map of the space.
When scheduling a visit, you will be able to see which desk is available in green, booked by you in yellow, or selected by you for further booking in blue. Not available in gray means the desk is booked by other users.
8. To complete the booking process, click on Submit.
9. Once it is submitted, you will receive the following email.

The administrator will be notified about your request for a visit. If it is approved, you will receive the following email:

10. Closer to the visit, you should get the following:

Clicking on
Complete Documents will redirect you to a separate portal where you will be able to view and sign documents prior to the arrival at the facility. The process is the same as in the Advanced Pre-registration. Please refer to the
Working with Advanced Pre-registration (visitor’s perspective) article to find out more.
Booking a visit in the Workforce portal
Assumptions:
You have an employee pass issued to you by the administrator in the iLobby Address Book.
1. To book a visit, go to portal.goilobby.com, then go to Settings, and select Workforce.
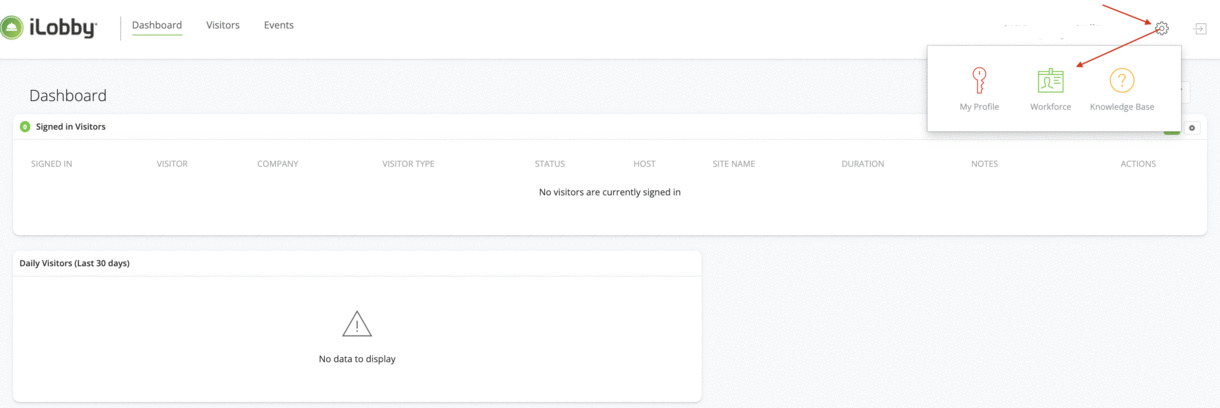
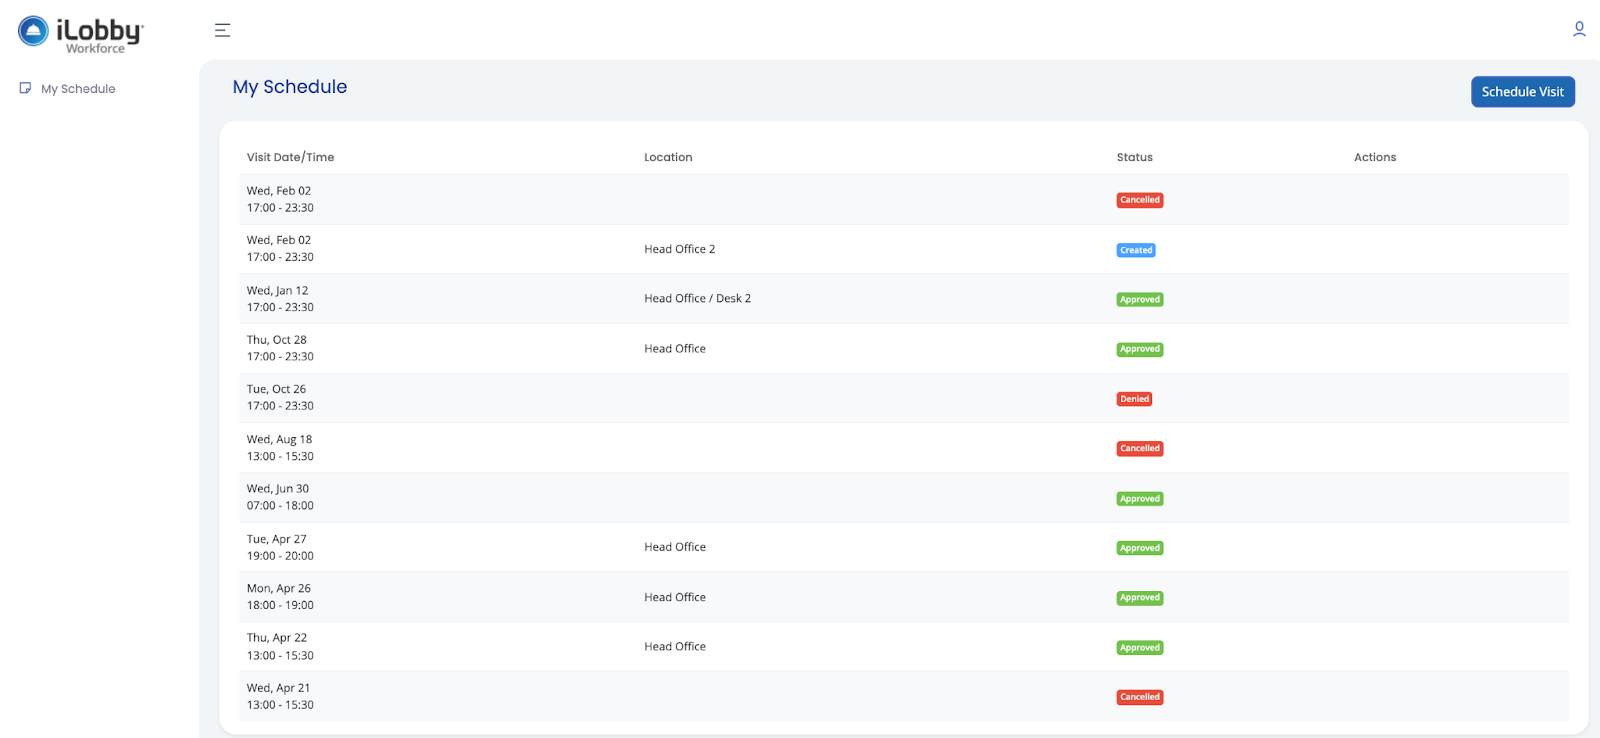
2. You will be directed to the Workforce portal. The employee’s profile represents the schedule of visits. To book a visit, click on the blue Schedule Visit button in the upper right corner.
Related Articles
Working with Spaces in the iLobby Workforce
The Spaces tab reflects the same sites you have in the iLobby portal. A space is a physical place (building, office) to which visitors come. By tapping on each space name, you can: 1. Edit its name 2. Add a description 3. You can add a desk map ...Adding Desks in the iLobby Workforce
If you’d like employees to be able to book a certain desk at the space, you can add desks to spaces in the Workforce portal. There are two ways to add desks to spaces: Using a three-dot icon under Spaces 1. Click on the three-dot icon to the right of ...Working with My schedule in the Workforce Portal
My schedule displays all past and future visits of a user. The following info about the visits is displayed on this page: 1 Visit Date/Time: the time and date when your visit is scheduled. 2 Location: Space/Site/Desk where your visit is going ...Setting up Users in the iLobby Workforce
The Users tab represents users you have in the iLobby portal. There are two roles available: Admin. Users with the account administrator role in the iLobby portal will have an Admin role in the Workforce management portal and have access to all the ...Setting up Timeslots in iLobby Workforce
Under Timeslots, time intervals in a schedule available for booking a space are displayed. By default, there is one timeslot called “Business hours” already created. Account admins can add new timeslots for their employees to select for booking by ...